Home
Collections
About
News
Cart
My Account
Contact
Favorites
Select Page
Menu
Close
Collections
Store
Favorites
Cart
0
Checkout
Login
Sign Up
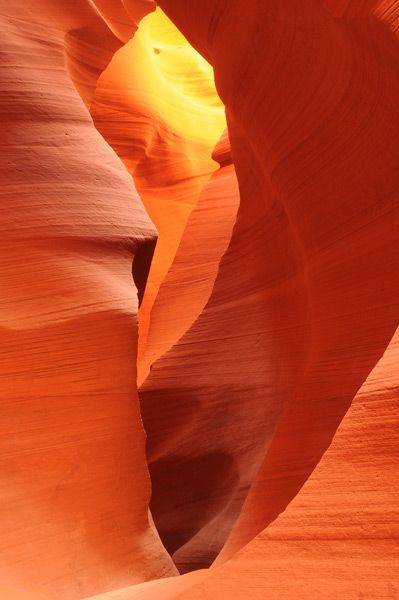
The Inviting Labyrinth I
Return to gallery
Visit store
Return to gallery
Favorite: The Inviting Labyrinth I
Purchase options: The Inviting Labyrinth I
« Previous
Next »